
Repositories on Docker Hub
Estimated reading time: 9 minutesDocker Hub repositories let you share images with co-workers, customers, or the Docker community at large. If you’re building your images internally, either on your own Docker daemon, or using your own Continuous integration services, you can push them to a Docker Hub repository that you add to your Docker Hub user or organization account.
Alternatively, if the source code for your Docker image is on GitHub or Bitbucket, you can use an “Automated build” repository, which is built by the Docker Hub services. See the automated builds documentation to read about the extra functionality provided by those services.
Searching for images
You can search the Docker Hub registry via its search interface or by using the command line interface. Searching can find images by image name, user name, or description:
$ docker search centos
NAME                                 DESCRIPTION                                     STARS     OFFICIAL   AUTOMATED
centos                               The official build of CentOS.                   1034      [OK]
ansible/centos7-ansible              Ansible on Centos7                              43                   [OK]
tutum/centos                         Centos image with SSH access. For the root...   13                   [OK]
...
There you can see two example results: centos and ansible/centos7-ansible.
The second result shows that it comes from the public repository of a user,
named ansible/, while the first result, centos, doesn’t explicitly list a
repository which means that it comes from the top-level namespace for Official
Repositories. The / character separates a user’s
repository from the image name.
Once you’ve found the image you want, you can download it with docker pull <imagename>:
$ docker pull centos
latest: Pulling from centos
6941bfcbbfca: Pull complete
41459f052977: Pull complete
fd44297e2ddb: Already exists
centos:latest: The image you are pulling has been verified. Important: image verification is a tech preview feature and should not be relied on to provide security.
Digest: sha256:d601d3b928eb2954653c59e65862aabb31edefa868bd5148a41fa45004c12288
Status: Downloaded newer image for centos:latest
You now have an image from which you can run containers.
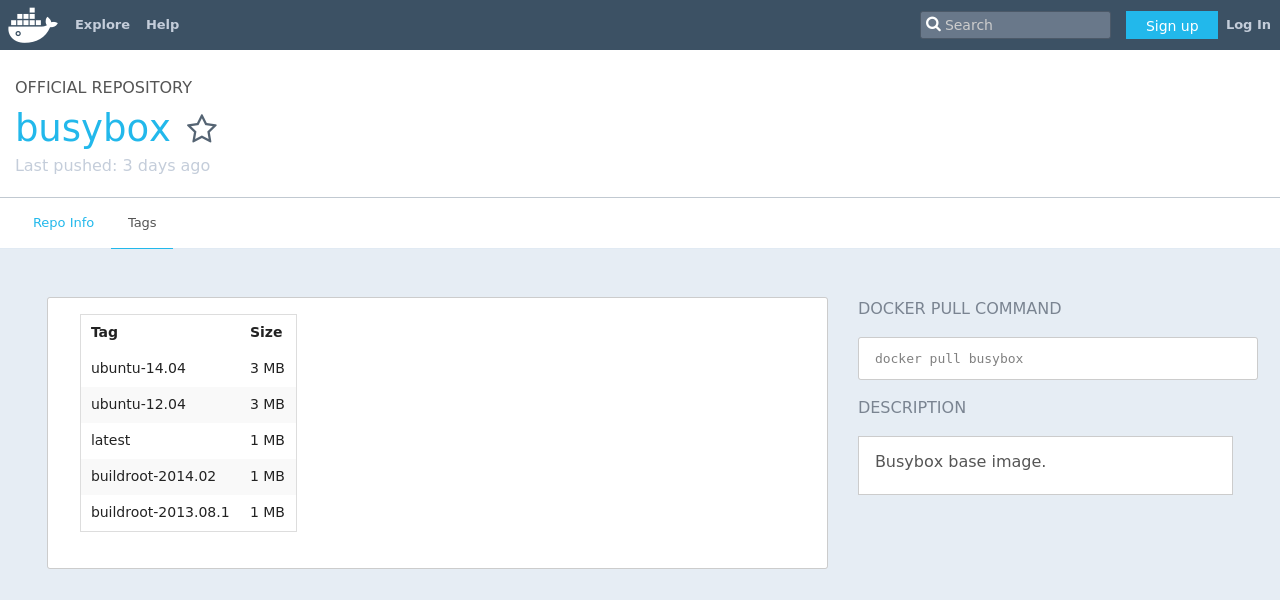
Viewing repository tags
Docker Hub’s repository “Tags” view shows you the available tags and the size of the associated image.
Image sizes are the cumulative space taken up by the image and all its parent
images. This is also the disk space used by the contents of the Tar file created
when you docker save an image.
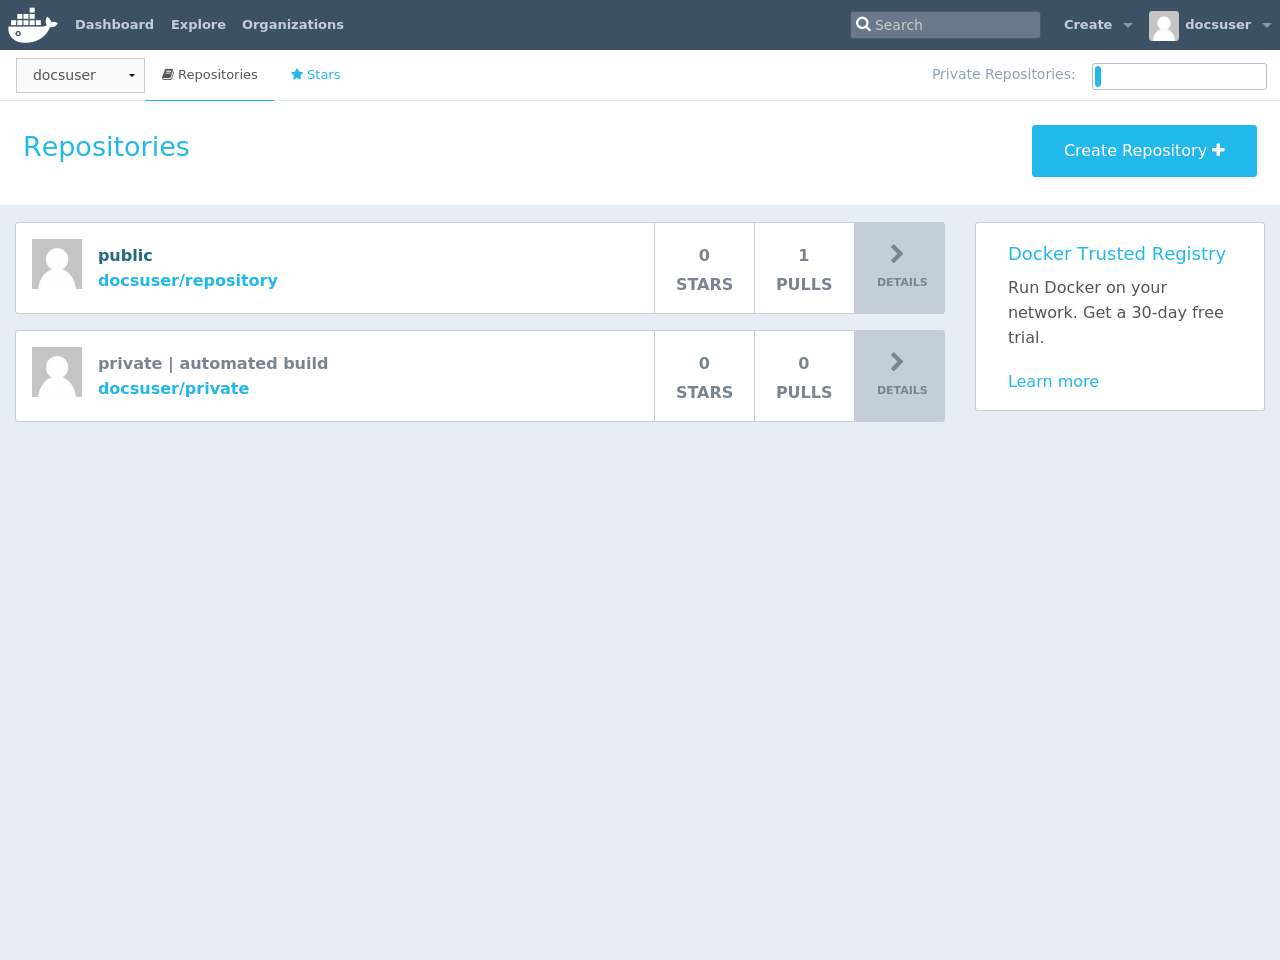
Creating a new repository on Docker Hub
When you first create a Docker Hub user, you will have a “Get started with Docker Hub.” screen, from which you can click directly into “Create Repository”. You can also use the “Create ▼” menu to “Create Repository”.
When creating a new repository, you can choose to put it in your Docker ID
namespace, or that of any organization that you are in the “Owners”
team. The Repository Name will need to be unique in that namespace, can be two
to 255 characters, and can only contain lowercase letters, numbers or - and
_.
The “Short Description” of 100 characters will be used in the search results, while the “Full Description” can be used as the Readme for the repository, and can use Markdown to add simple formatting.
After you hit the “Create” button, you then need to docker push images to that
Hub based repository.
Pushing a repository image to Docker Hub
In order to push a repository to the Docker Hub, you need to
name your local image using your Docker Hub username, and the
repository name that you created in the previous step.
You can add multiple images to a repository, by adding a specific :<tag> to
it (for example docs/base:testing). If its not specified, the tag defaults to
latest.
You can name your local images either when you build it, using
docker build -t <hub-user>/<repo-name>[:<tag>],
by re-tagging an existing local image docker tag <existing-image> <hub-user>/<repo-name>[:<tag>],
or by using docker commit <exiting-container> <hub-user>/<repo-name>[:<tag>] to commit
changes.
See Working with Docker images for a detailed description.
Now you can push this repository to the registry designated by its name or tag.
$ docker push <hub-user>/<repo-name>:<tag>
The image will then be uploaded and available for use by your team-mates and/or the community.
Stars
Your repositories can be starred and you can star repositories in return. Stars are a way to show that you like a repository. They are also an easy way of bookmarking your favorites.
Comments
You can interact with other members of the Docker community and maintainers by leaving comments on repositories. If you find any comments that are not appropriate, you can flag them for review.
Collaborators and their role
A collaborator is someone you want to give access to a private repository. Once
designated, they can push and pull to your repositories. They will not be
allowed to perform any administrative tasks such as deleting the repository or
changing its status from private to public.
Note: A collaborator cannot add other collaborators. Only the owner of the repository has administrative access.
You can also assign more granular collaborator rights (“Read”, “Write”, or “Admin”) on Docker Hub by using organizations and teams. For more information see the organizations documentation.
Private repositories
Private repositories allow you to have repositories that contain images that you want to keep private, either to your own account or within an organization or team.
To work with a private repository on Docker Hub, you will need to add one using the Add Repository button. You get one private repository for free with your Docker Hub user account (not usable for organizations you’re a member of). If you need more accounts you can upgrade your Docker Hub plan.
Once the private repository is created, you can push and pull images to and
from it using Docker.
Note: You need to be signed in and have access to work with a private repository.
Private repositories are just like public ones. However, it isn’t possible to browse them or search their content on the public registry. They do not get cached the same way as a public repository either.
It is possible to give access to a private repository to those whom you designate (i.e., collaborators) from its “Settings” page. From there, you can also switch repository status (public to private, or vice-versa). You will need to have an available private repository slot open before you can do such a switch. If you don’t have any available, you can always upgrade your Docker Hub plan.
Webhooks
A webhook is an HTTP call-back triggered by a specific event. You can use a Hub repository webhook to notify people, services, and other applications after a new image is pushed to your repository (this also happens for Automated builds). For example, you can trigger an automated test or deployment to happen as soon as the image is available.
To get started adding webhooks, go to the desired repository in the Hub, and
click “Webhooks” under the “Settings” box. A webhook is called only after a
successful push is made. The webhook calls are HTTP POST requests with a JSON
payload similar to the example shown below.
Example webhook JSON payload:
{
  "callback_url": "https://registry.hub.docker.com/u/svendowideit/busybox/hook/2141bc0cdec4hebec411i4c1g40242eg110020/",
  "push_data": {
    "images": [
        "27d47432a69bca5f2700e4dff7de0388ed65f9d3fb1ec645e2bc24c223dc1cc3",
        "51a9c7c1f8bb2fa19bcd09789a34e63f35abb80044bc10196e304f6634cc582c",
        "..."
    ],
    "pushed_at": 1.417566822e+09,
    "pusher": "svendowideit"
  },
  "repository": {
    "comment_count": 0,
    "date_created": 1.417566665e+09,
    "description": "",
    "full_description": "webhook triggered from a 'docker push'",
    "is_official": false,
    "is_private": false,
    "is_trusted": false,
    "name": "busybox",
    "namespace": "svendowideit",
    "owner": "svendowideit",
    "repo_name": "svendowideit/busybox",
    "repo_url": "https://registry.hub.docker.com/u/svendowideit/busybox/",
    "star_count": 0,
    "status": "Active"
  }
}
Note: If you want to test your webhook, we recommend using a tool like requestb.in. Also note, the Docker Hub server can’t be filtered by IP address.
Webhook chains
Webhook chains allow you to chain calls to multiple services. For example, you can use this to trigger a deployment of your container only after it has been successfully tested, then update a separate Changelog once the deployment is complete. After clicking the “Add webhook” button, simply add as many URLs as necessary in your chain.
The first webhook in a chain will be called after a successful push. Subsequent URLs will be contacted after the callback has been validated.
Validating a callback
In order to validate a callback in a webhook chain, you need to
- Retrieve the
callback_urlvalue in the request’s JSON payload. - Send a POST request to this URL containing a valid JSON body.
Note: A chain request will only be considered complete once the last callback has been validated.
To help you debug or simply view the results of your webhook(s), view the “History” of the webhook available on its settings page.
Callback JSON data
The following parameters are recognized in callback data:
state(required): Accepted values aresuccess,failureanderror. If the state isn’tsuccess, the webhook chain will be interrupted.description: A string containing miscellaneous information that will be available on the Docker Hub. Maximum 255 characters.context: A string containing the context of the operation. Can be retrieved from the Docker Hub. Maximum 100 characters.target_url: The URL where the results of the operation can be found. Can be retrieved on the Docker Hub.
Example callback payload:
{
  "state": "success",
  "description": "387 tests PASSED",
  "context": "Continuous integration by Acme CI",
  "target_url": "http://ci.acme.com/results/afd339c1c3d27"
}
 Feedback? Suggestions? Can't find something in the docs?
Edit this page ● Request docs changes ● Get support
Rate this page: